
PAK building instructions, part V
The Main assembly
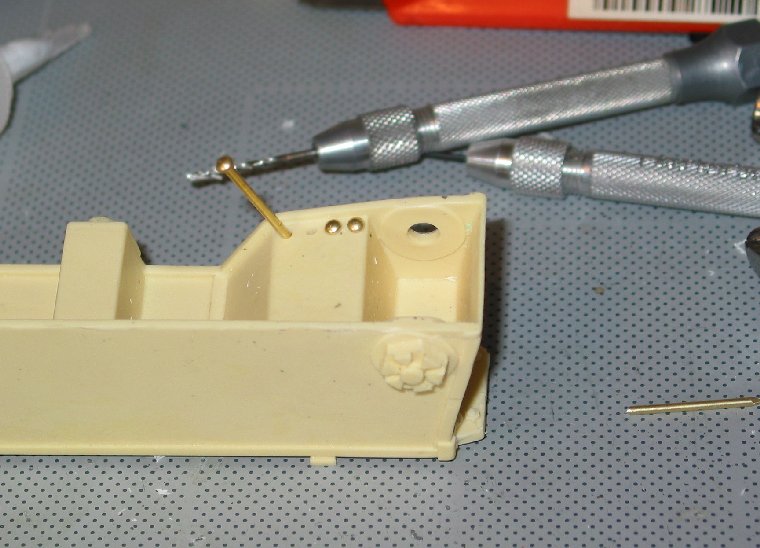
The under carriage
First
the good news : if you don't want to do this.... no problem,
because the rivets only appear to be on the early production PAK.
But then again, however, if you like detailing.. go for it.
The rivets are made of brass nails.
here another view.. the top rivets are done, the lower rivet holes are drilled.
Also
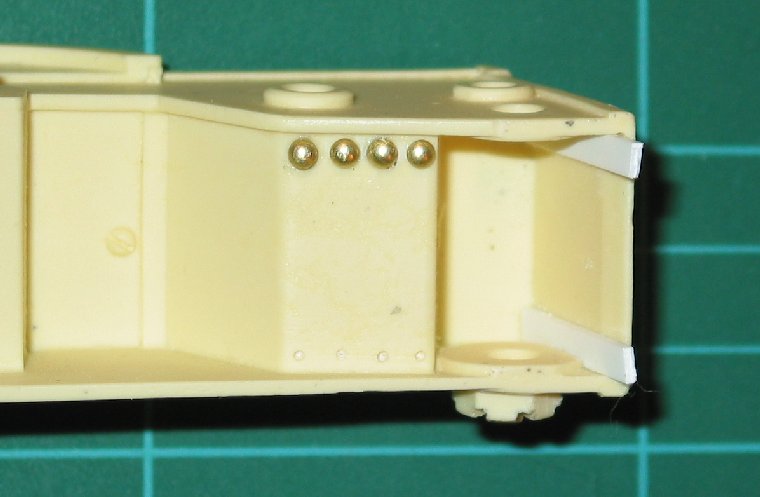
note the reinforcing strips which I found present on the early production
model
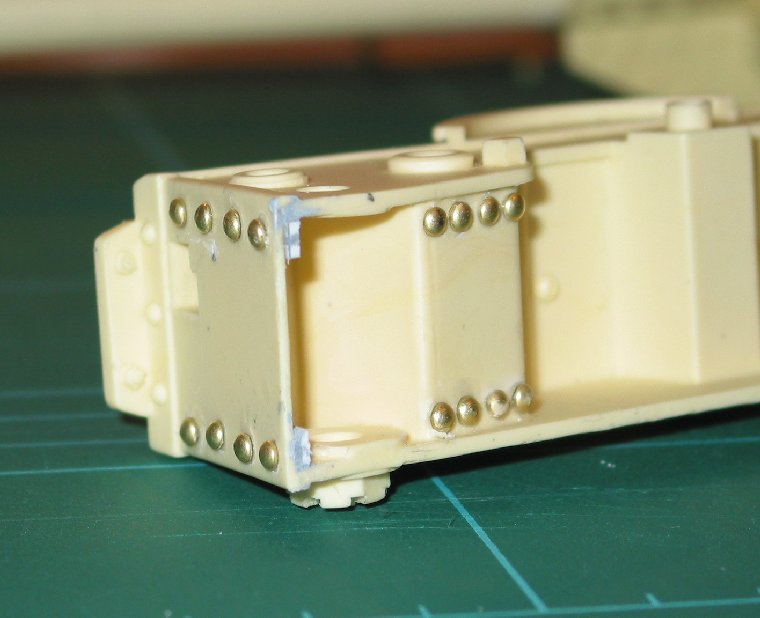
All the rivets
done.
One of the axles
attached.
Make sure that it is glued very well !!
Also this is the
time that I started spray painting the PAK, cause some
of the parts are hard to reach with the spray gun when assembled.
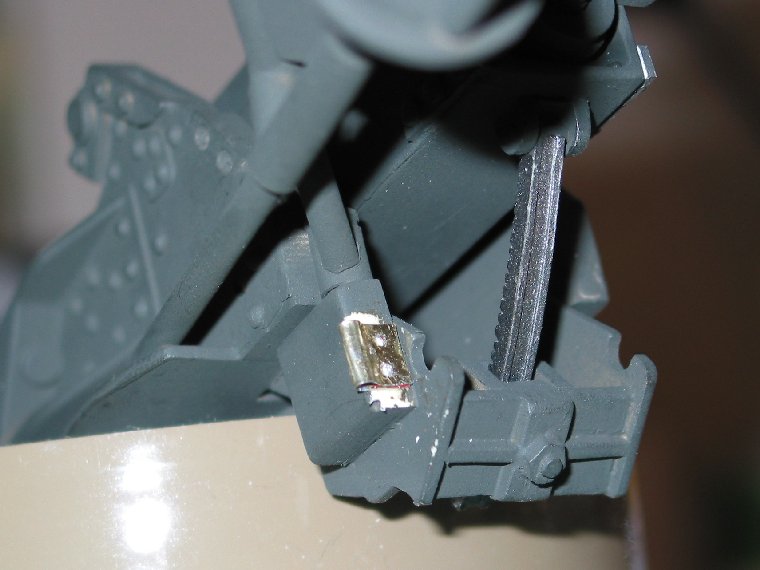
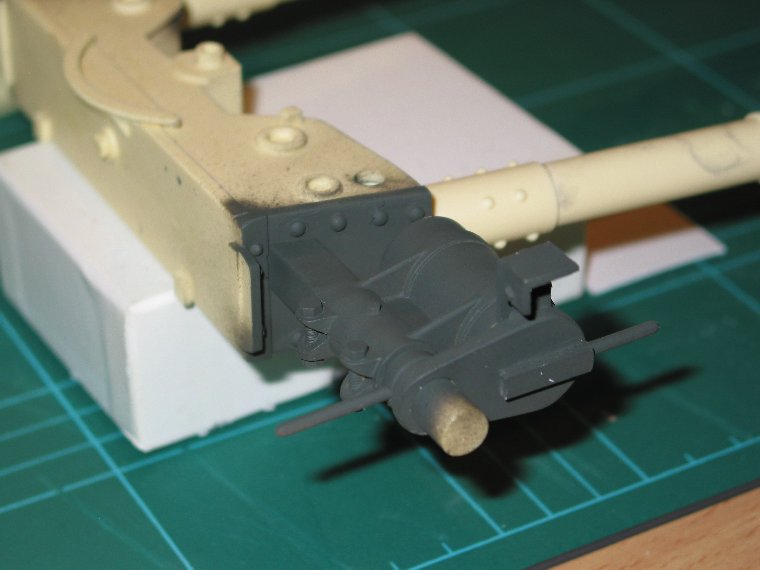
Here you see
a detail picture of the pivot assembly , which is going to be
mounted on the under carriage soon. The new part here is the mount for the
wire
which will go from the handle to the cannon.
It
is made from a piece of can, which was bend around the wire, and then
glued
onto the pivot assembly. Aditionally I drilled holes in it in which
little plastic pins are glued.
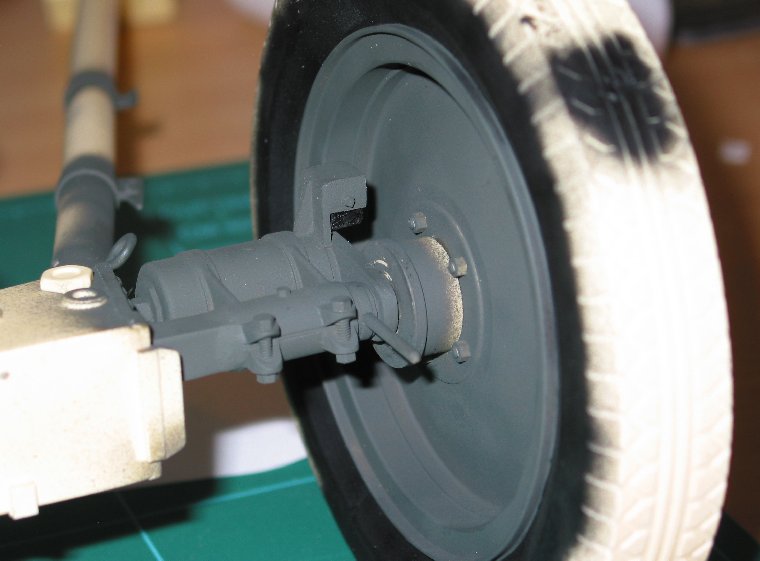
But before
mounting the pivot assembly, first mount the wheels
(and remember to spray paint them first ofcourse).
I
also mounted the legs.
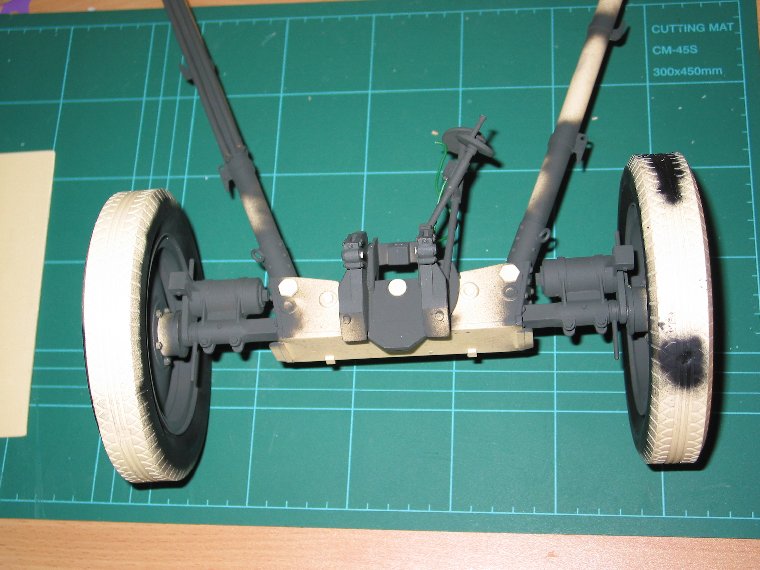
Then,
finaly, the pivot assembly is mounted. Make sure the wheels are properly
glued
(I reinforced the wheels by drilling little holes in the wheel and
wheel
mounts and inserting little nails which are glued in)
It's really starting to look like something now.
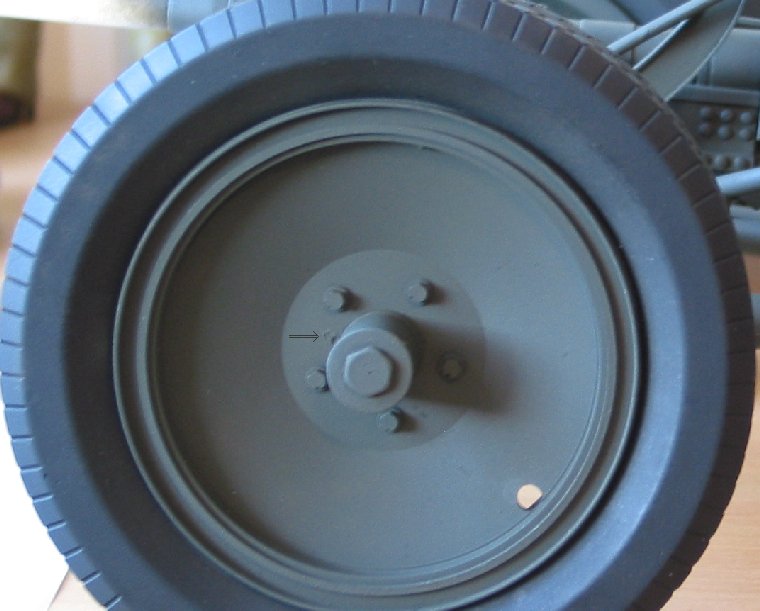
The arrow point
at a place where I drilled a hole and put a pin in to reinforce the wheel.
I did this on three places.
Also note the bigger hole drilled in the wheel... (a detail that wasn't
there)
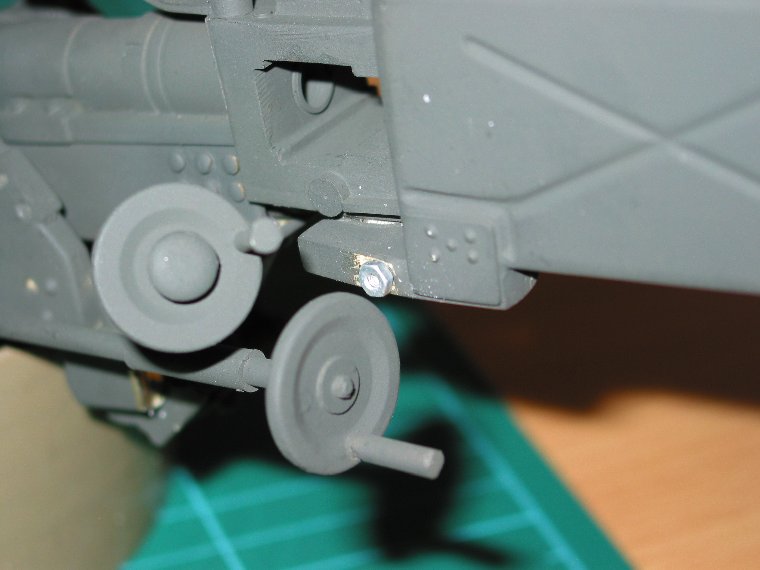
Time to put the
main canon on the main assembly, but first glue on the
M2 screw which will hold the other end of the cable.
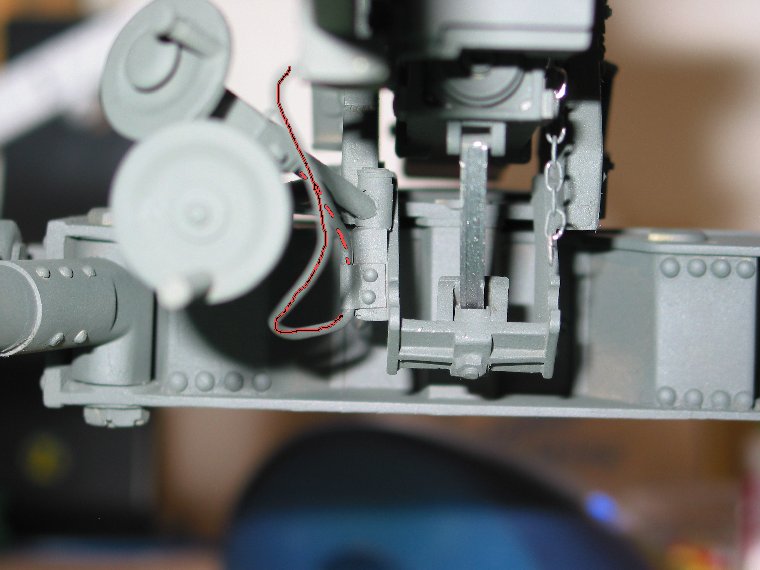
Then you have to
make a cable (I used green wire which is used in gardens to fix plants)
which
runs from the M2 screw on the handle to the other (on the canon).
I highlited it red so it is more clearer.
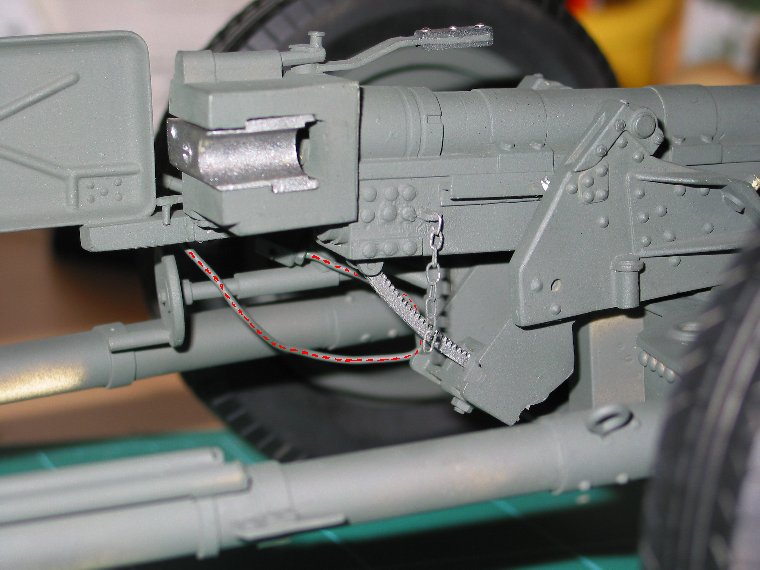
Here another
view of the cable.
Next Item will be Details to the main assembly (including ZF sight)