
PAK building instructions, part IV
The Cannon assembly
The canon assembly is one of the parts that needs the most work and is a lot of fun detailing.
First
of all the breech block and the shield that protected the gunner from the
shells.
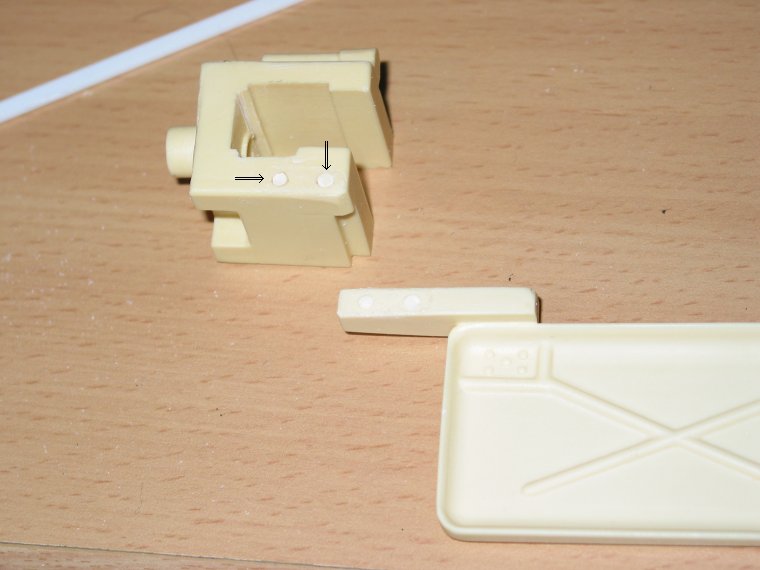
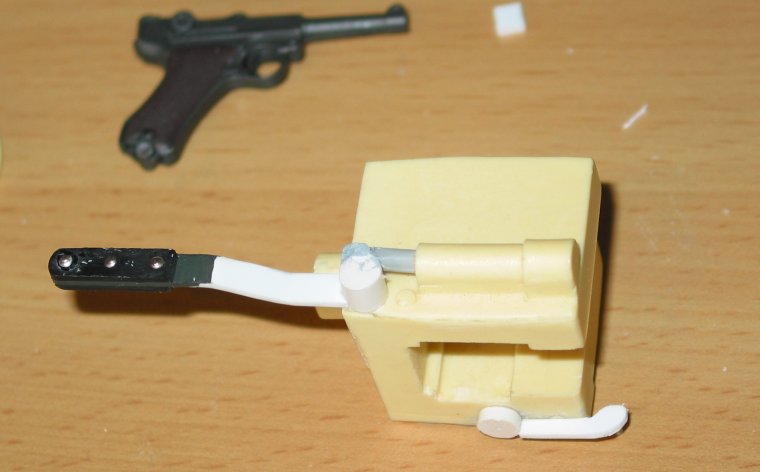
In my opinion the shield is mounted too high so I started
"correcting" this. I removed the pins from the shield and filled
the holes in the breech block.
I added a little angle profile on the shield so it can be attatched to the breech block.
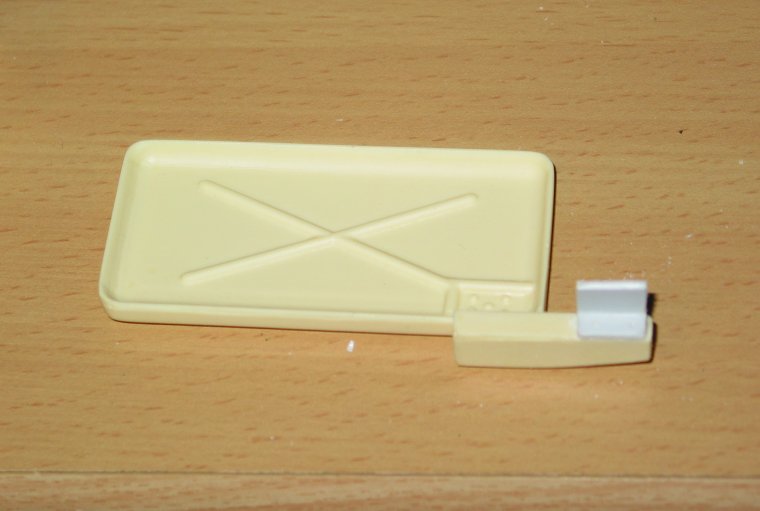
Here a picture of a later stage to show how it is attached to the breech block.
Here you see the scratch build shell ejector handle (P08 for dim. ref.)

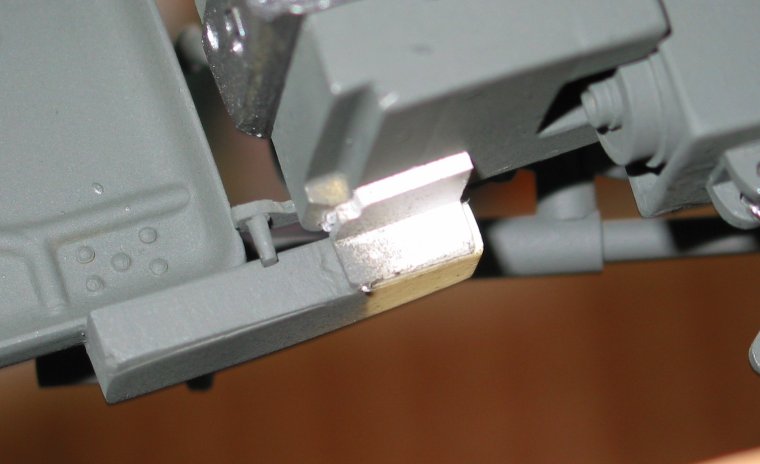
Here you see the breech block with two plastic rods attached to hold the handle.
And a detail shot with the handle attached. Also note some added detail.
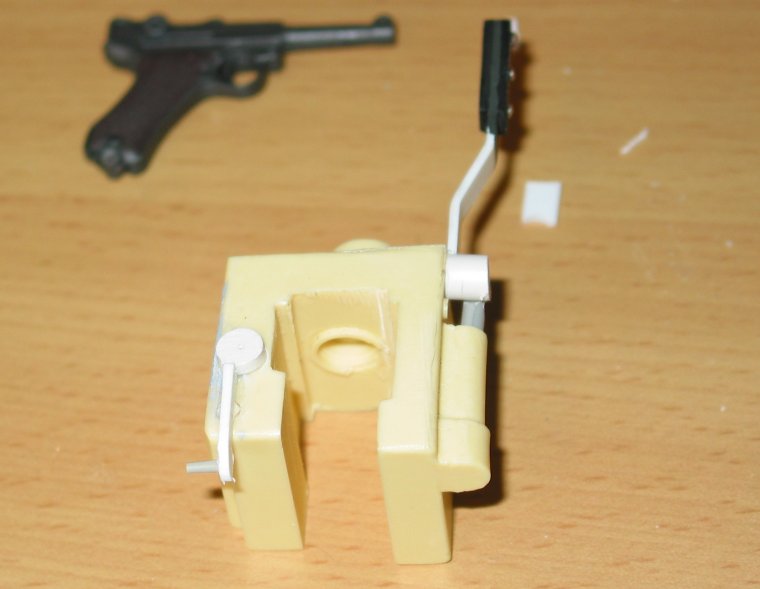
And a picture from another angle.
Time to put the things together....
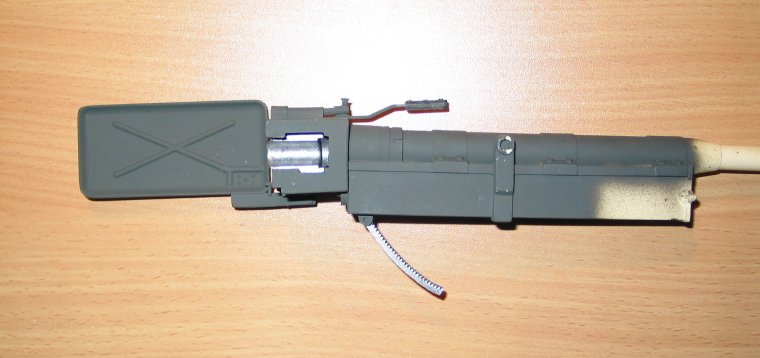
Here a picture
of the "finished" and partly painted canon assembly
(before I decided to even detail it further....)
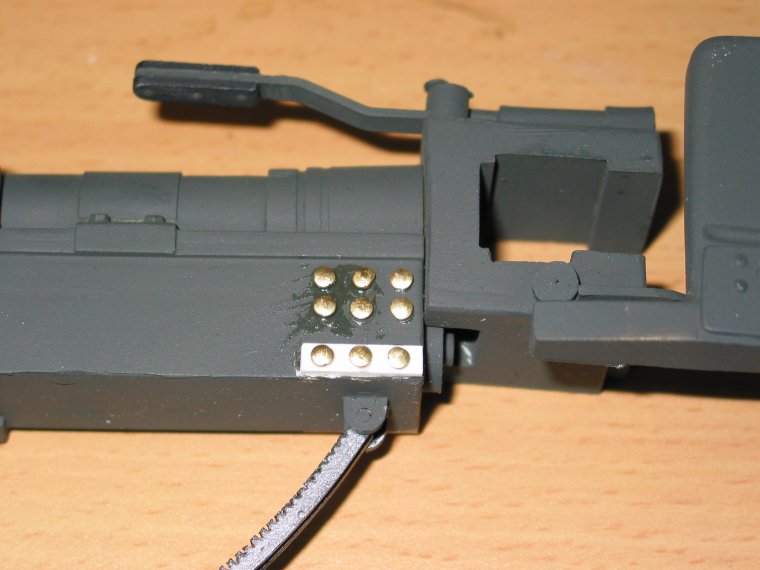
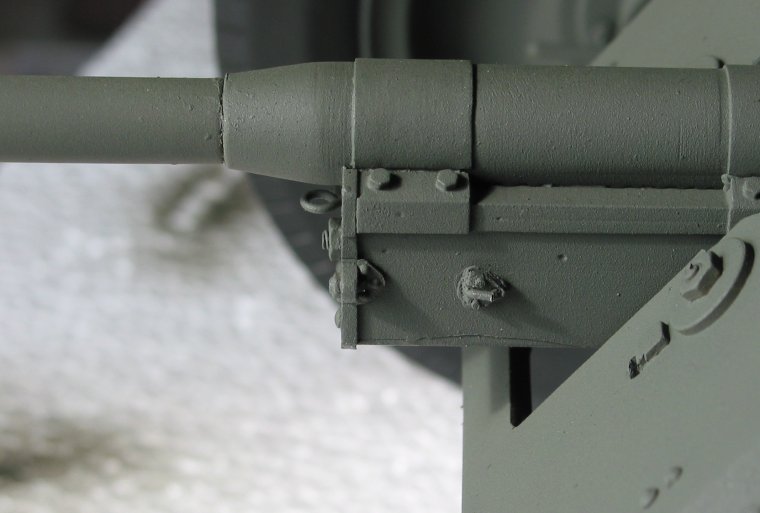
On the detailed
pic's of the original, I noted that there were more rivets ..
So I included them.. they are made of the heads of little brass
nails which are cut off. I then drilled little holes where the nails
would fit into...
The lower three "rivets" are on a reinforcing strip.
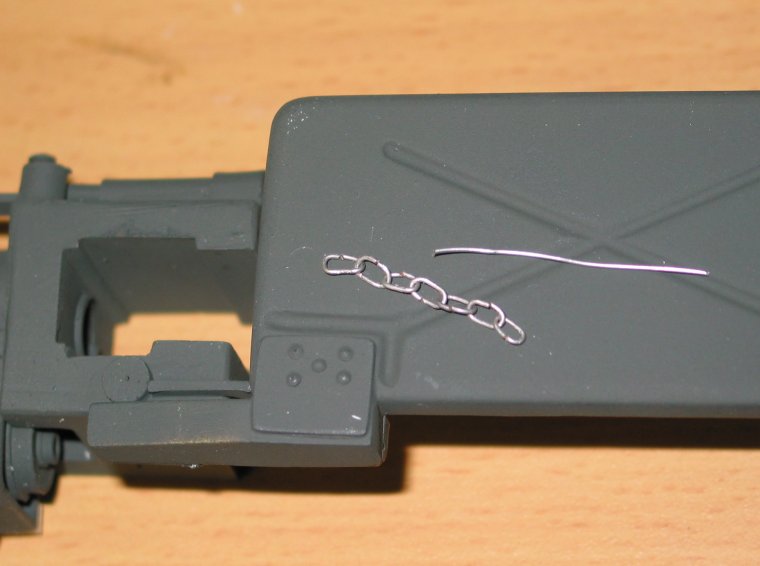
I also noted a
little chain on the original, so I made it of metal wire.
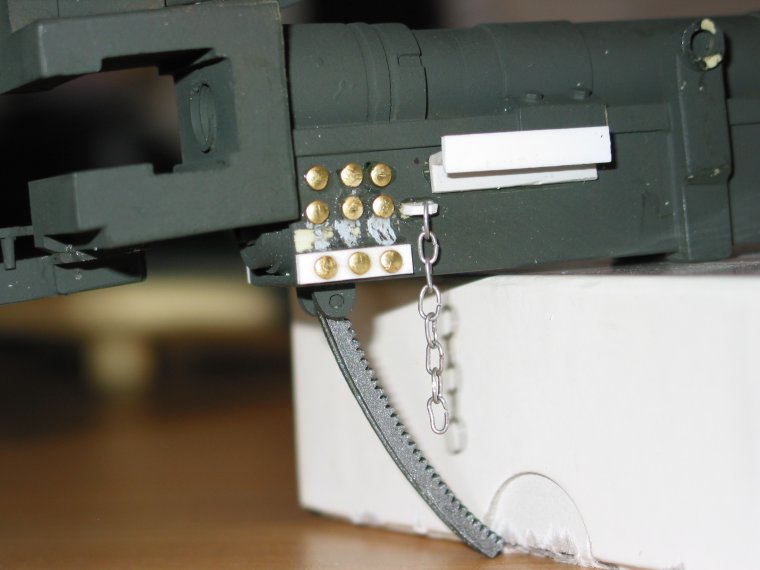
The chain on the
canon assembly. Also note the rivets and some sort
of angle profile added to the canon.
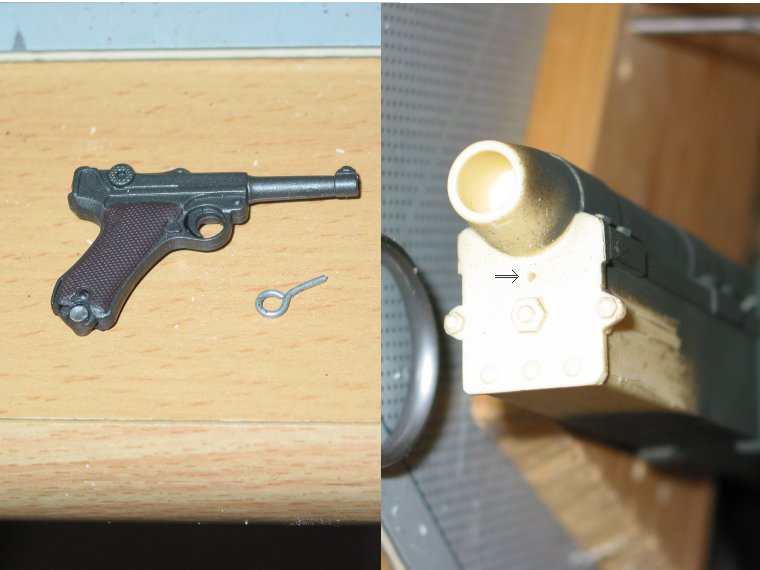
I also
made a little ring from metal wire which is to be mounted under
the barrel (see arrow). This ring is going to hold the strap from the
barrel cap (more on that later)
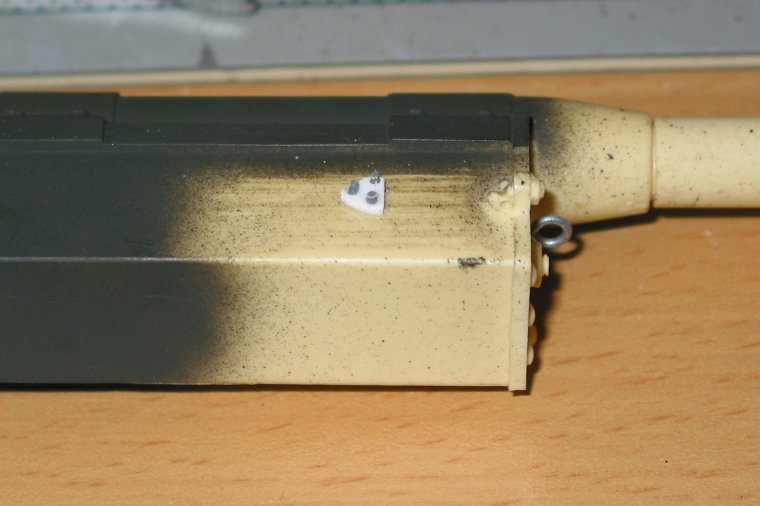
I added the
little hook, which was supposed t be on the OTHER!!! side... so
much for
doing work for nothing.... you can also see the little ring attached.
The hook on the
right side.